
Connecting Your E-commerce Store to Spocket
Over the course of this guide, you will learn how to effectively connect your existing online store to Spocket, whether you’re using platforms like Shopify or others. You can choose to link your store directly or upload your products using a CSV file for convenience. Understanding the payment process is vital, particularly how it varies between free and premium plans. For a deeper dive, check out How to Launch Your E-commerce Store in 2025.
Understanding Spocket
What is Spocket?
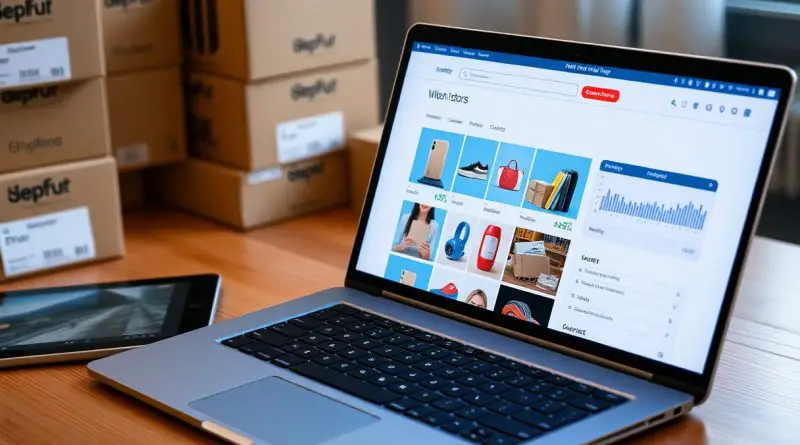
Spocket is a dropshipping platform that allows you to easily source high-quality products from suppliers primarily in the US and EU. With Spocket, you can streamline your e-commerce operations, access various products, and improve shipping times, ultimately enhancing your customers’ experience. To connect your store with Spocket, follow the provided guidelines for a seamless integration.
Benefits of Using Spocket
Utilizing Spocket can significantly enhance your e-commerce business by providing fast shipping, high-quality products, and an extensive selection of suppliers. You gain access to real-time inventory updates and can effortlessly import products into your online store. Moreover, you can also leverage the platform’s ease of integration with your existing store, whether directly or via CSV files.
In terms of benefits, Spocket dramatically reduces shipping times, with many suppliers offering products that ship from within the US or EU. This can lead to increased customer satisfaction and lower return rates. Additionally, the platform’s user-friendly interface allows you to manage your products efficiently, making it easier to adapt to market trends. Their tiered pricing plans also offer flexibility, enabling you to choose a plan that fits your business needs, whether you’re starting out or scaling up.
Requirements for Connection
To successfully connect your e-commerce store to Spocket, you need to ensure your online platform meets specific requirements. Primarily, you must have an active e-commerce store on a compatible platform, like Shopify, WooCommerce, or BigCommerce. Additionally, your Spocket account should be properly set up, and you should have access to your store’s API configuration. This connection eliminates manual inventory management and streamlines order fulfillment, enhancing your overall operational efficiency.
Compatible E-commerce Platforms
Your e-commerce platform must be one of Spocket’s supported systems to facilitate a seamless integration. Currently, Spocket works with popular platforms such as Shopify, WooCommerce, and BigCommerce. If you’re using one of these, you can easily connect your store to Spocket, enabling you to access a range of dropshipping products. Ensure your store is updated to the latest version of your chosen platform to avoid compatibility issues.
Account Setup
Setting up your Spocket account is necessary for establishing the connection. You need to create an account on Spocket by providing your email address and selecting a password. After confirming your email, you can log in and integrate your e-commerce store by following straightforward prompts. Depending on your chosen subscription plan—free or premium—you might have access to different features, shaping your overall experience with Spocket.
Once your account is set up, linking your e-commerce platform is a straightforward process. If you’re on Shopify or WooCommerce, simply navigate to the integration settings in your Spocket dashboard, select your platform, and authorize the connection. Alternatively, you can also import your products using a CSV file. The method of payment will vary depending on your plan, with free users facing limitations on product variances and premium users enjoying full access to Spocket’s extensive database. Ensure you choose the approach that best meets your business operations.
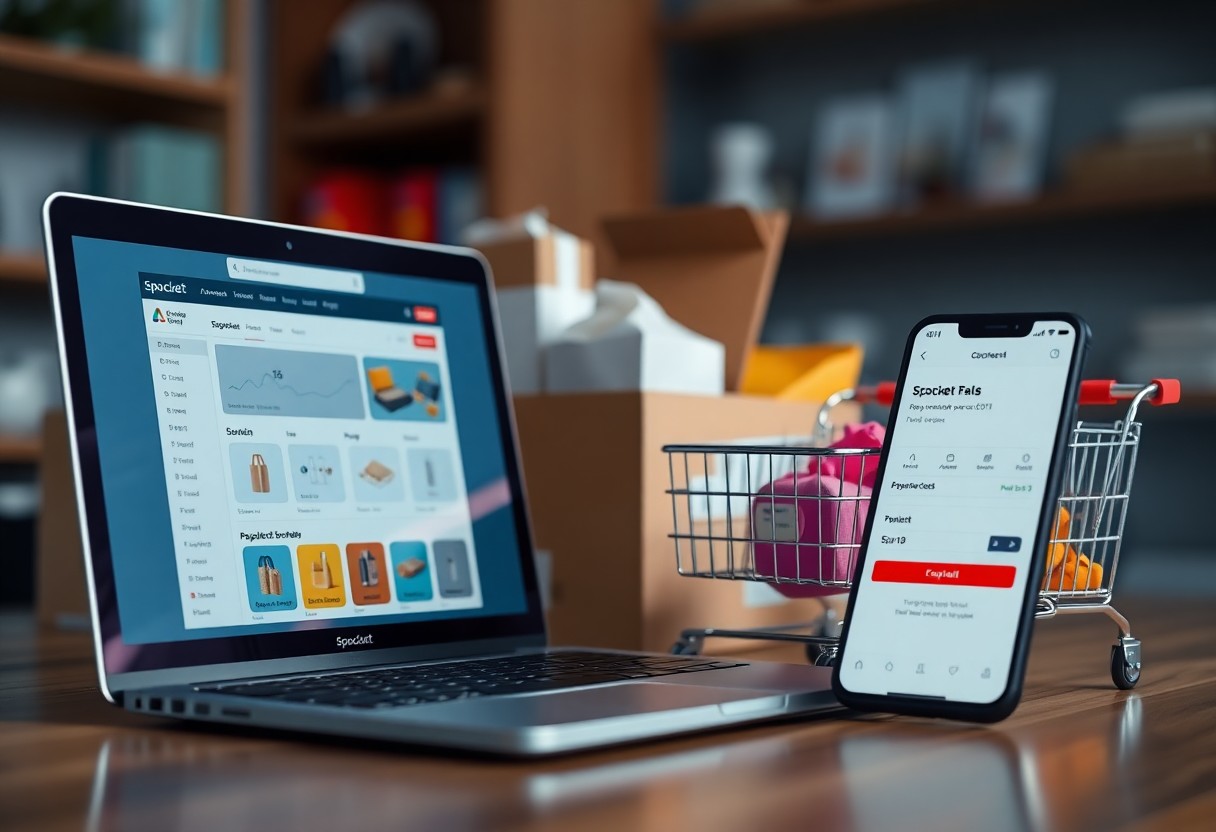
Connecting Your Store Directly
To connect your store directly to Spocket, simply navigate to your Spocket dashboard and select the integration option for your e-commerce platform. For guidance on Spocket Shopify integration, check out this Spocket Shopify Integration: 2 Easy Methods. This process allows for seamless synchronization of products and inventory, enhancing your overall online operation.
Step-by-Step Guide for Shopify
Follow these steps to integrate your Shopify store with Spocket:
| Step | Description |
| 1 | Log into your Spocket account. |
| 2 | Select ‘Integrations’ and choose Shopify. |
| 3 | Authorize Spocket to connect to your Shopify store. |
| 4 | Sync your product listings as preferred. |
| 5 | Set your payment preferences based on your plan. |
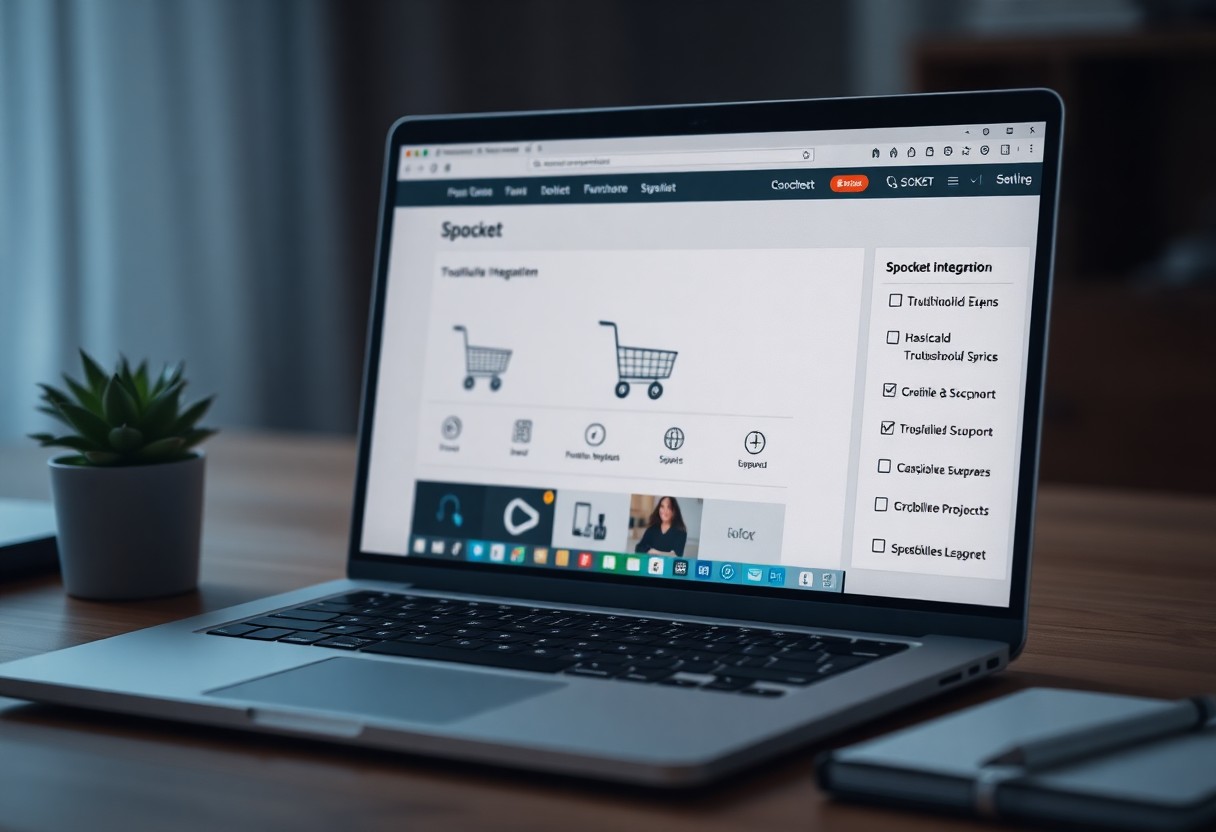
Other Platforms Connection Process
For e-commerce platforms other than Shopify, the connection process typically involves similar steps. You’ll access your Spocket account, locate the integrations section, and select your platform. From there, you may need to upload a CSV file for product listings. Pay attention to the specific requirements of each platform to avoid potential errors during integration.
The connection process varies slightly for different platforms, yet most follow the same structure as Shopify. You’ll authenticate your Spocket account and then either connect directly or upload via a CSV file, depending on the platform. Each platform has tailored instructions guiding you through the specifics, including any adjustments needed based on the plan you’re subscribed to, whether free or premium, which can influence the range of products available for integration.
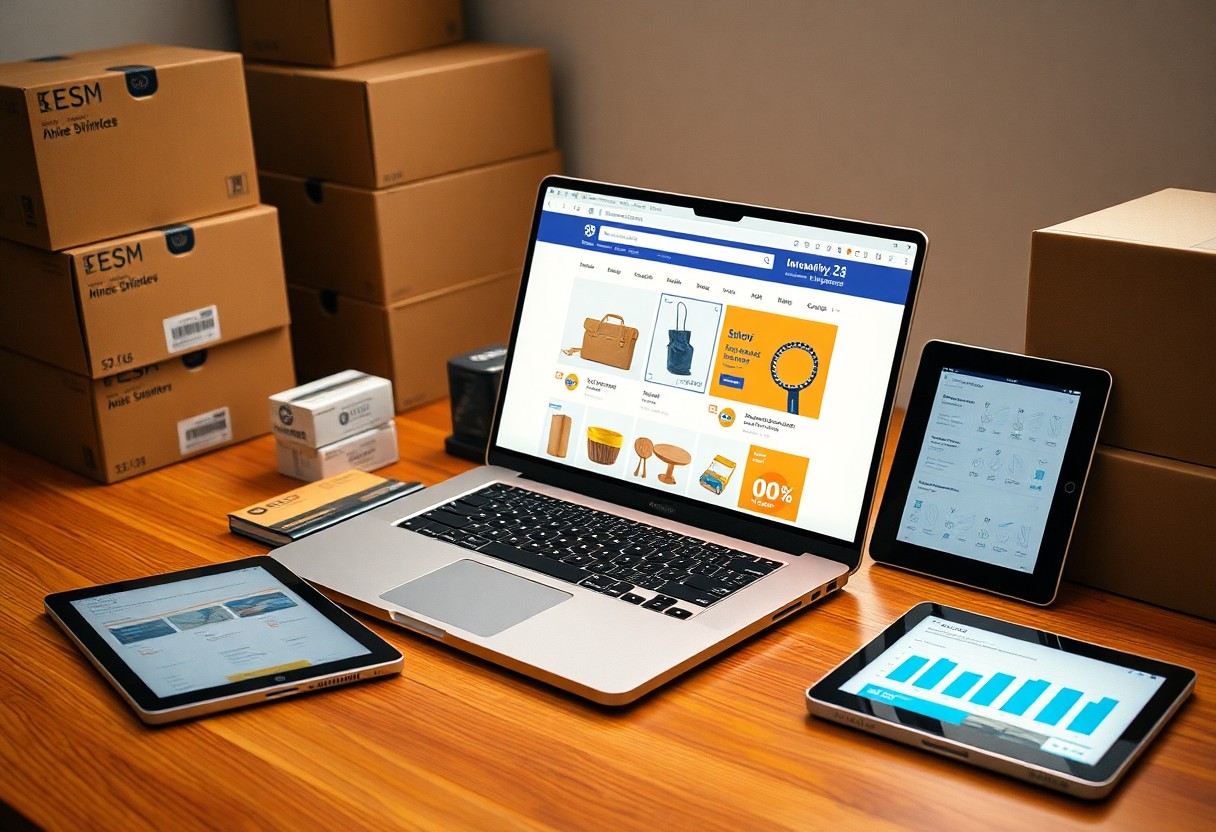
Importing Products via CSV
Importing products via CSV offers you a streamlined method to populate your Spocket inventory quickly. By utilizing a properly formatted CSV file, you can efficiently upload multiple products at once, enhancing your store’s offerings without the tedious manual entry.
Preparing Your CSV File
Start by ensuring your CSV file includes necessary columns such as product name, description, price, SKU, and inventory count. Use a template from Spocket to avoid formatting errors, as correct structure is necessary for successful uploads to your e-commerce platform.
Uploading and Managing Products
Once your CSV file is ready, navigate to the Spocket dashboard and select the import option. Simply upload your CSV file and monitor the import process to address any potential errors. After importing, you can manage your products directly from Spocket, editing details and syncing them with your store effortlessly.
After uploading, you’ll have the flexibility to edit individual product details, adjust pricing, and manage inventory levels. This centralized management saves time, allowing you to focus on promoting your products and optimizing sales strategies. Moreover, keep track of changes with Spocket’s intuitive interface, which updates your e-commerce store in real time, ensuring accuracy in listings.
Payment Process Overview
Understanding the payment process is imperative when integrating your e-commerce store with Spocket. You can manage transactions directly through your store platform, ensuring a seamless checkout experience for your customers. Payment processing differs between plans; with the free plan, you have basic functionalities, while the premium plan offers advanced features, empowering you to optimize sales and customer satisfaction.
Free Plan Features
The free plan allows you to connect your store effortlessly, listing products and managing inventory. However, you’ll have limited access to premium integrations and reduced payment processing options, which may constrain your operational efficiency.
Premium Plan Benefits
The premium plan unlocks advanced payment processing options, allowing you to accept multiple payment methods and currencies. You’ll enjoy faster transaction handling and lower fees, enhancing your profit margins while providing a better experience for your customers.
With the premium plan, you can also access features like automated tax calculations and advanced reporting tools, which are vital for scaling your business. These capabilities not only streamline your operations but also improve customer trust through secure transactions. By investing in the premium plan, you can significantly boost your e-commerce potential and ensure your business runs smoothly.
Troubleshooting Common Issues
While connecting your e-commerce store to Spocket, you may encounter various challenges. Addressing these common issues promptly ensures a smooth integration process and helps you maintain an efficient selling operation. Here, we focus on typical problems and their solutions to keep your store running seamlessly.
Connection Problems
If you’re facing connection problems between your e-commerce platform and Spocket, verify that your store’s API settings are correctly configured. Ensuring that your store URL and API key are accurate can often resolve these issues. Additionally, consider checking your internet connection and firewall settings, which might be obstructing the link.
Product Import Issues
Product import issues can arise when syncing your Spocket account with your store, disrupting your inventory management. Frequent errors include mismatched variants or incorrect product details. You can navigate through these dilemmas by systematically reviewing the CSV file’s formatting and ensuring all mandatory fields are filled properly to facilitate a smooth import process.
When dealing with product import issues, it’s vital to focus on the CSV file format. Ensure that your file adheres to the specified guidelines, highlighting required fields like product name, SKU, and price. Mistakes in these areas often lead to failed imports. If variants aren’t showing, double-check that they’re formatted correctly; a simple error can cause significant delays in adding products to your store. Also, using the import feature directly from Spocket can sometimes provide a more streamlined approach than a manual CSV upload.
Conclusion
Hence, connecting your e-commerce store to Spocket enhances your product sourcing efficiency. You can easily link your existing online platform, such as Shopify, either directly or through a CSV file. Pay attention to the payment process, as there are distinct differences between the free and premium plans that may affect your experience. By streamlining connections and understanding payment options, you optimize your store’s potential and elevate your dropshipping success.
FAQ
Q: How can I connect my Shopify store to Spocket?
A: To connect your Shopify store to Spocket, log in to your Spocket account, go to the “My Stores” section, and select “Add Store.” Choose Shopify, then follow the prompts to authorize the connection.
Q: Can I upload products to Spocket using a CSV file?
A: Yes, you can upload products using a CSV file. Navigate to the “Import” section in Spocket, select “Upload CSV,” and follow the instructions to import your product listings.
Q: What types of payment methods are accepted when using Spocket?
A: Spocket accepts various payment methods, including credit cards and PayPal. Note that payment processing may differ based on whether you are on a free or premium plan.
Q: Are there any differences between the free plan and premium plan in terms of product access?
A: Yes, the free plan provides limited access to certain products and suppliers, while the premium plan offers a wider selection and additional features, such as real-time inventory updates and premium supplier access.
Q: Do I need to manually update product details after connecting my store to Spocket?
A: No, once connected, product details such as prices and availability are updated automatically through Spocket’s integration with your store, saving you time and effort.