
A Step-by-Step Guide to Creating Your Spocket Account
Account creation is simple and straightforward when you follow the right steps. First, you’ll need to click the sign-up link and choose to “Continue with Google”. Ensure you select the correct Google account that you want to associate with your Spocket profile. This will safeguard your information and streamline your registration process. For more insights on e-commerce, explore this How to Sell on Amazon: A Complete Guide for New Sellers.
Understanding Spocket
What is Spocket?
Spocket is a dropshipping platform that connects entrepreneurs with suppliers from the U.S. and Europe, enabling you to source high-quality products easily. It simplifies the process of finding reliable vendors while providing tools for seamless order management and automation. With Spocket, you can launch your online store without carrying inventory, focusing on growth instead of logistics.
Benefits of Using Spocket
Using Spocket offers several advantages, including fast shipping times, a wide range of unique products, and the ability to curate your brand’s offerings effectively. You gain access to premium suppliers who emphasize quality over quantity, ensuring your customers receive the best. Its user-friendly interface streamlines product searching and inventory management.
The benefits extend even further when you consider Spocket’s robust integrations with popular e-commerce platforms like Shopify and WooCommerce. This allows you to automate your store’s operations efficiently, providing real-time inventory updates and fulfilling orders with just a few clicks. Plus, many suppliers offer branded invoicing, giving your business a professional edge while enhancing customer experience. By utilizing Spocket, you can effectively rival larger competitors while maintaining strong margins on unique products.
Preparing for Registration
Before starting your Spocket account registration, ensure you meet a few requirements to streamline the process. Familiarizing yourself with The Ultimate Guide to Spocket Dropshipping can also provide valuable insights into the platform.
System Requirements
Your device must have a reliable internet connection and should run on updated browsers like Chrome, Firefox, or Safari. Ensure that your operating system is current to avoid compatibility issues.
Necessary Information
Before proceeding with account creation, gather vital information, including a valid email address and preferred password. This information will secure your account and help in recovery if needed.
Along with your email and password, it’s wise to have access to your chosen Google account if you opt for the “Continue with Google” registration option. This will not only expedite the process but also link your Spocket account directly to your Google services, enhancing your overall experience.
Step 1: Accessing the Sign-Up Page
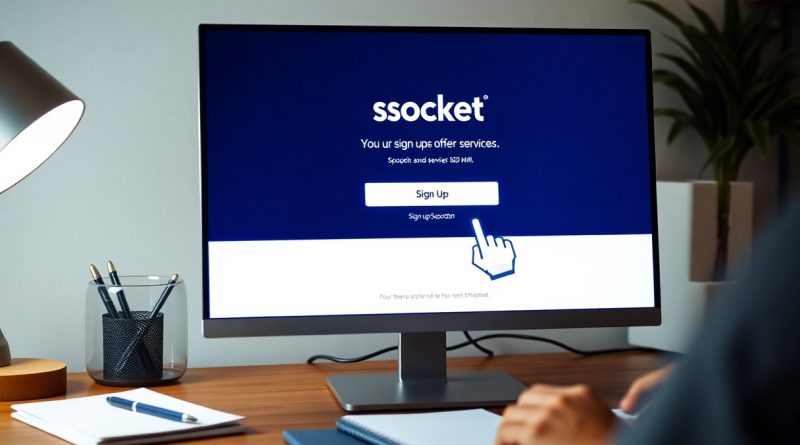
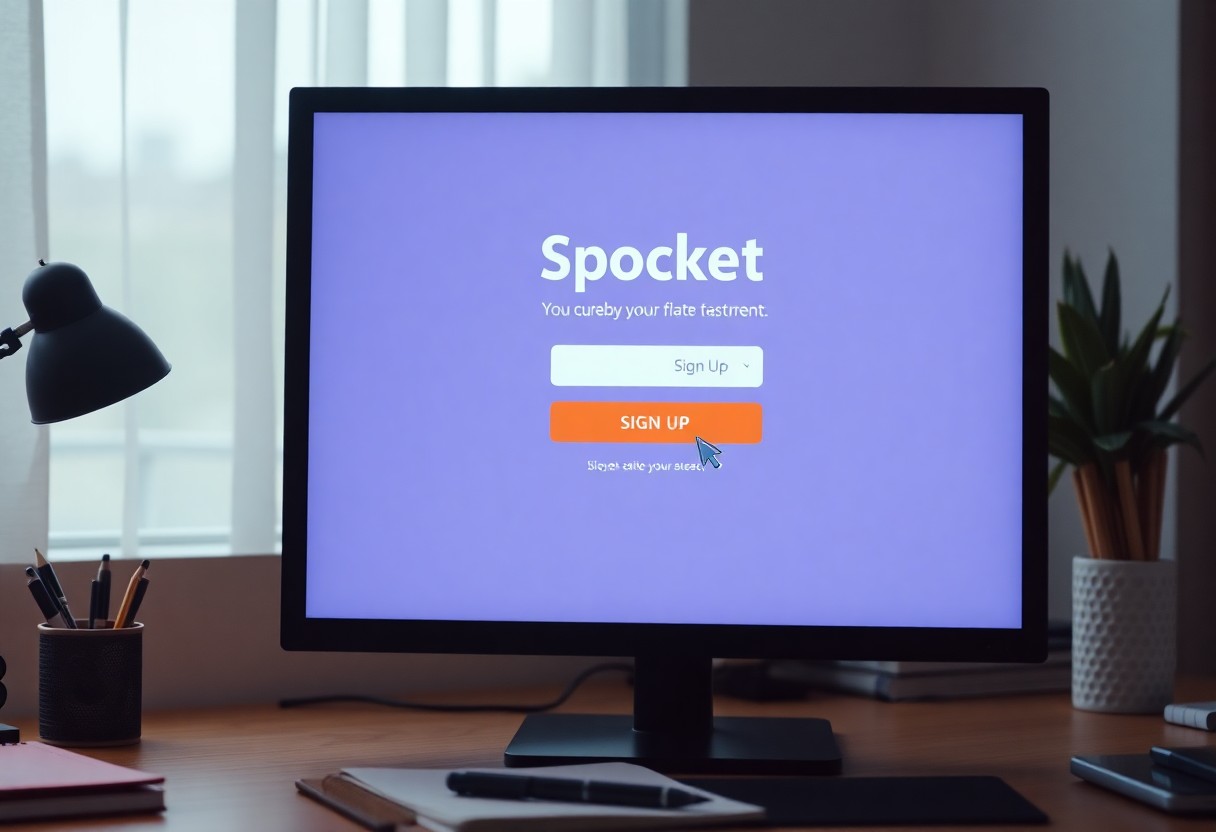
To create your Spocket account, you first need to access the sign-up page. This is where the registration process begins, allowing you to join the Spocket platform and examine its features.
Finding the Sign-Up Link
Locate the sign-up link on the Spocket homepage. Typically, it’s prominently displayed, often as a button labeled “Sign Up” or “Get Started.” Clicking this link will redirect you to the registration options for creating your account.
Navigating the Website
Explore the Spocket website to familiarize yourself with its layout and offerings. You’ll find the sign-up link at the top right corner of the homepage. This strategic placement ensures that it’s easy to spot as you navigate through various sections, like product listings and features. The user-friendly design allows you to swiftly access key information about Spocket’s services.
Step 2: Registering with Google
After accessing the sign-up page, you can streamline your registration process by linking your Spocket account with Google. This option allows you to bypass traditional email verification and quickly set up your profile using your existing Google credentials. Just locate the “Continue with Google” button to proceed seamlessly.
Choosing “Continue with Google”
Clicking on “Continue with Google” directs you to a secure authentication window. This feature simplifies registration by leveraging your Google account, eliminating the need to create a new password. It’s an efficient path to start using Spocket immediately.
Selecting Your Google Account
Next, you’ll be prompted to select the Google account you wish to use for your Spocket registration. If you’re logged into multiple accounts, make sure to choose the one linked to your e-commerce activities. This selection ensures all relevant information is integrated and accessible.
When deciding on your Google account, be attentive to the email associated with it, as it will be tied to your Spocket profile. If necessary, you can switch to a different account by clicking “Use another account.” Keep in mind that once you link your Spocket account, managing your settings, orders, and notifications will be simpler through your chosen Google email. Ensure you pick the account most relevant to your business needs to facilitate smooth operations.
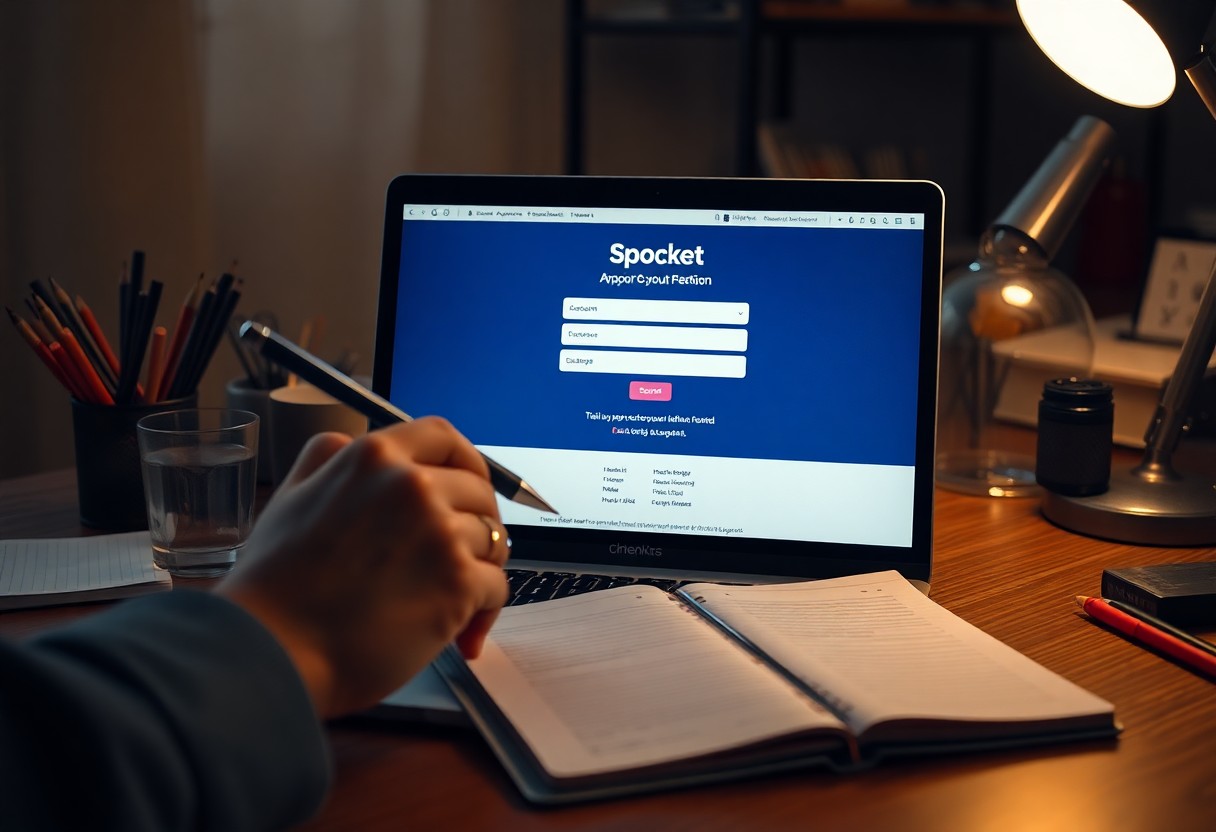
Step 3: Completing Your Profile
Completing your profile is imperative for maximizing your Spocket experience. This step allows you to tailor your account settings, ensuring you receive personalized recommendations that align with your business needs. Take your time to fill out your profile accurately, as it can significantly impact your effectiveness on the platform.
Entering Additional Information
In this section, you will provide additional details that help enhance your account. Include your business name, address, and contact information. These details not only personalize your profile but also enhance trust levels with suppliers and customers alike.
Setting Up Preferences
Setting preferences involves selecting your preferred product categories and price ranges. This customization allows Spocket to present you with products that suit your business model. By clearly defining your niche, you streamline your browsing experience and improve your chances of finding products that resonate with your target audience.
Your preferences play a pivotal role in shaping your Spocket experience. Specifying product categories, such as fashion or electronics, can lead to curated offerings that match your interests. Additionally, stating your budget range facilitates access to products that align with your pricing strategies, enabling effective decision-making throughout your sourcing journey.
Tips for a Smooth Registration
To ensure a hassle-free registration, follow these tips closely. First, use a valid email address to avoid verification issues. Second, ensure your Google account is active and has the necessary access permissions. Third, check your internet connection to prevent disruptions. Fourth, keep your credentials handy in case of any prompts for additional information. Thou must pay attention to detail throughout the process to facilitate a successful sign-up.
- Use a valid email address.
- Ensure your Google account is active.
- Check your internet connection.
- Keep your credentials handy.
Common Mistakes to Avoid
Avoid common pitfalls during registration, such as entering an invalid email or using an inactive Google account. Failing to check your internet connection can also cause delays, leading to frustration. Additionally, overlooking the privacy settings may result in restricted access later on. Stay vigilant to ensure a seamless experience.
Helpful Resources
Explore various resources to aid your registration process. The official Spocket documentation offers in-depth instructions and troubleshooting tips to guide you. Additionally, community forums can provide insights from other users who have navigated the registration process successfully. Lastly, video tutorials often provide visual step-by-step guidance that can be immensely helpful.
Utilizing these resources can enhance your understanding and increase your chances of a successful registration. The official help center maintains up-to-date information on any changes in the sign-up process. Community forums, such as Reddit or Spocket’s own network, inspire collaboration and shared experiences, making them valuable assets during your registration journey. Video tutorials are accessible on platforms like YouTube and serve as a great way to visualize the entire process, further smoothing your experience.
FAQ
Q: How do I access the Spocket sign-up page?
A: To access the Spocket sign-up page, visit the Spocket website and click on the “Sign Up” link, usually located at the top right corner of the homepage.
Q: What options do I have for signing up for a Spocket account?
A: You can sign up for a Spocket account by either providing your email address and creating a password or by selecting the “Continue with Google” option.
Q: How do I use the “Continue with Google” option to sign up?
A: To use the “Continue with Google” option, click on the button provided on the sign-up page and then select the Google account you wish to use for registration.
Q: What should I do if I encounter issues when signing up?
A: If you encounter issues during sign-up, ensure that you have a stable internet connection. You can also try clearing your browser cache or using a different browser. If problems persist, contact Spocket’s support for assistance.
Q: Is it possible to change my Google account linked to my Spocket account after signing up?
A: Once you have signed up using a Google account, you cannot directly change the linked Google account. You will need to create a new Spocket account with a different email address or Google account.