How to add custom object to navigation bar in SalesForceLightning?
How to add custom object to navigation bar
Adding an object in the navigation bar, for example another quick menu access such as accounts, is pretty easy, by going to personalize your nav bar > add more items > select item > add nav item.
Personalize navigation bar
Start by opening the navigation bar personalization menu, by clicking on the pen like icon on the top right corner of the SalesForce Lightning interface, below the user avatar. The menu is called personalize your nav bar.

There, in the edit relationship management app navigation items, you can reorder visually the navigation bar items by dragging and dropping them in the list.
The item on top will appear on the left side of the navigation bar, and other items will follow – or be accessible via a drop down menu in case the navigation bar has too many items.
To add a new navigation bar item, click on add more items.

Select navigation bar items
When entering the add navigation items interface, it will first show the favorites list, which can be empty.
Go to all items, an option on the left side of the form.

From the list of available items to add in the navigation bar, navigate to the ones you would to use, for example: assets, campaigns, cases, dashboards, discover companies, duplicate record sets, email templates, files, forecasts.
Click on the plus icon next to an item category to add to expand it.

Add navigation bar items
It is also possible to use the search field to display only the items that we are interested to add to the navigation bar.
For example, searching for report will only show the reports items.

After having clicked on the plus icon to display the list of possible items in that category to add to the interface, select the exact items that should be added, in case there are more than one for the category.
Then, once the items have been selected, click on the add nav item to confirm the operation.

Edit relationship management app navigation items
After the item has been successfully added, the form will go back to the first page of the edit relationship management app navigation item, with a confirmation message stating that the item has been added to the list of navigation bar items.

It hasn’t been fully added yet.
Now, the item has been put at the end of the navigation list. Use the drag and drop functionality to reorder it if necessary, and eventually push the item closer to the beginning of the navigation item list.

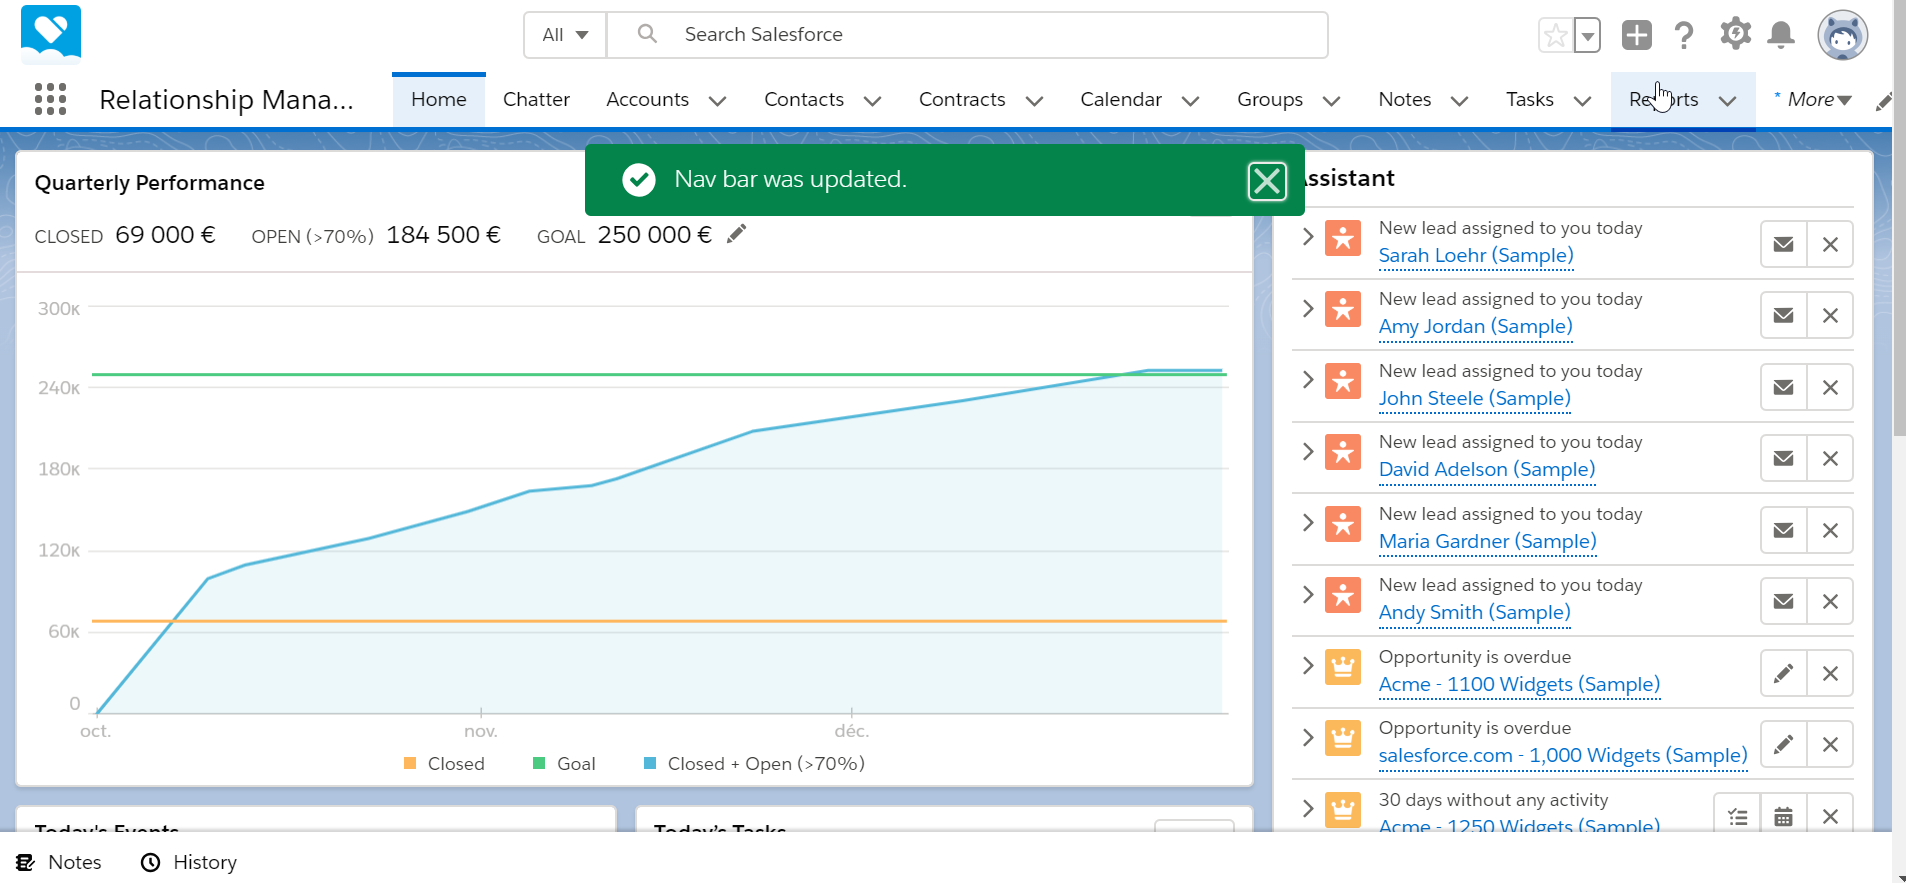
After that, simply click on save, and the navigation bar should have been successfully updated, included the latest menu item that has just been added.


