How to plan a customer project in SAP Cloud?
Plan a customer project in SAP Cloud
Planning customer projects in SAP Cloud Plan Customer Projects SAP FIORI application will allow to manage all related projects, as part of the SAP Implementation steps for the project.
Creating a new Customer project necessitates to define work items, assign resources, and create corresponding billing, which can all be done in the FIORI interface of SAP Cloud.
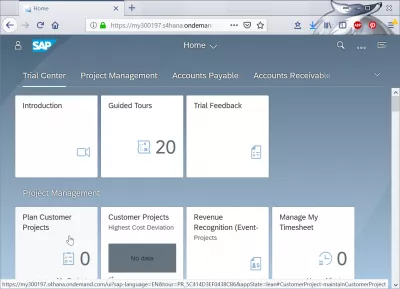
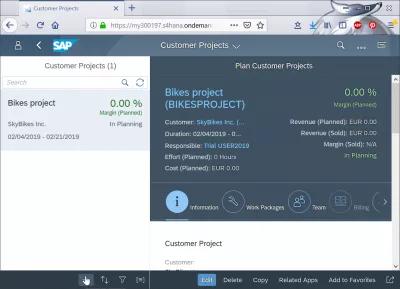
Start by opening the corresponding Plan Customer Projects SAP FIORI application .
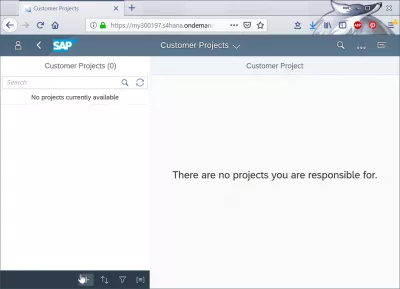
Your existing customer projects are displayed on the left side.
If you select a customer project, its details will be displayed on the right side of the SAP Cloud interface.
Of course, if you haven’t created any project yet, you won’t be able to see any.
Select the PLUS icon to maintain a new customer project.
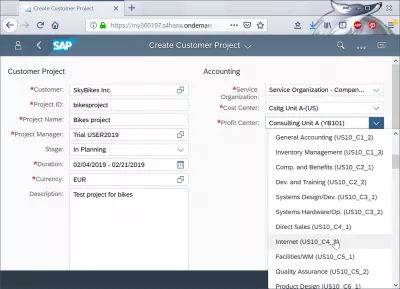
Maintain Project Information
Enter the necessaries entries, including the customer name, a unique project identification number, a project name, a during, a description – and validate your date entry by clicking on the save icon.
Project work packages
The next step will be to enter work packages, with the possibility to use an existing default work package, simply change the name to quickly customize it.
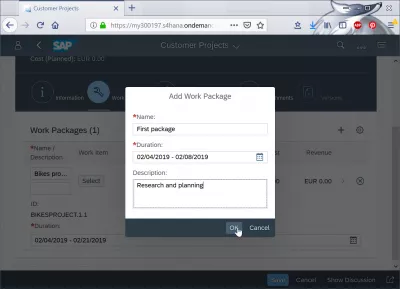
Work items are used to plan work assignments, and will need to be create accordingly to assign resources to the right assignments.
Select between work items, and select development and project management for example.
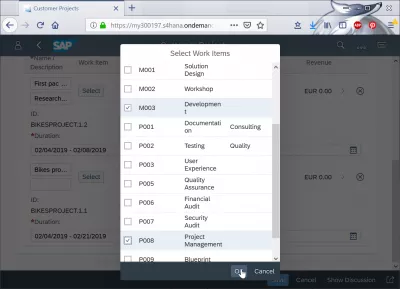
Continue by accepting, and saving the new work package.
Staffing the project
Once the work packages have been created, it is necessary to assign resources to work on each of the work assignements.
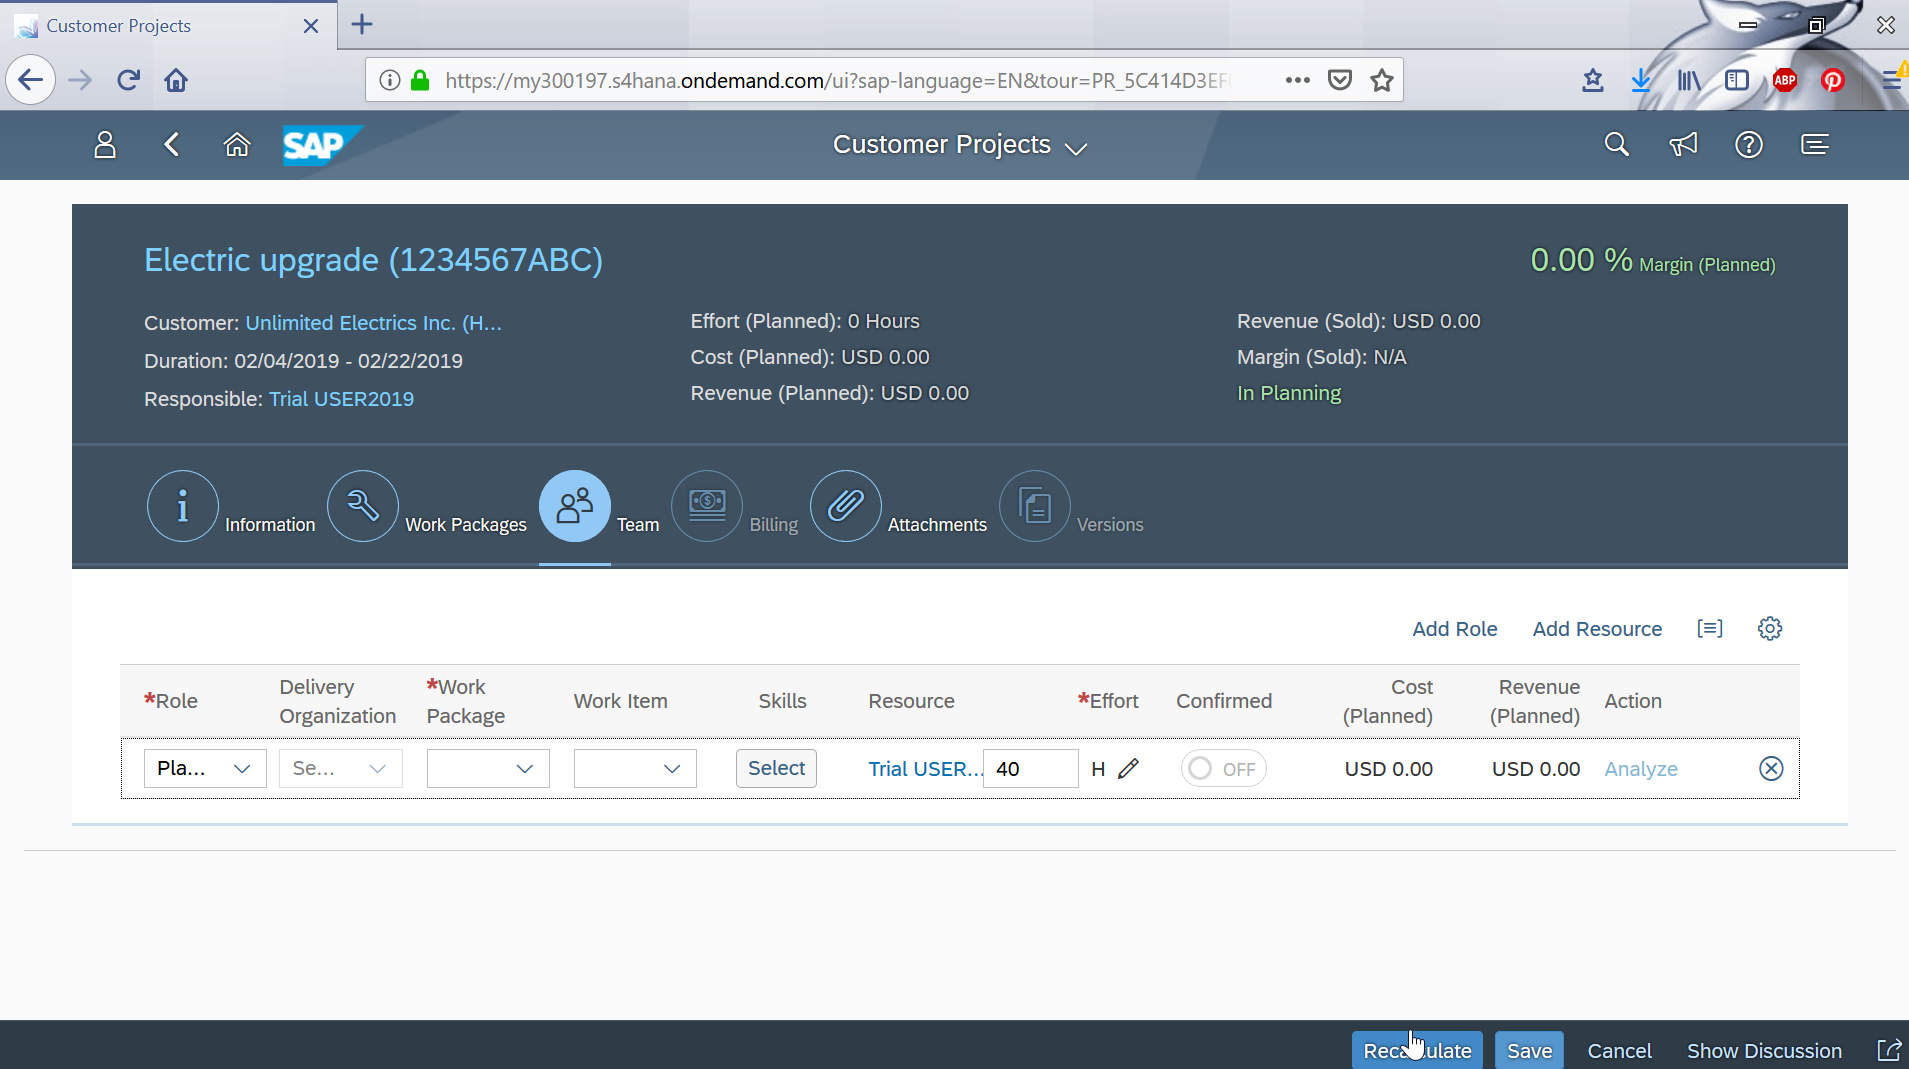
Go to the team option, and add role. In the window that will open, select a role, such as senior consultant, and assign him a work package, such as business blueprint.
A work item will also have to be selected, like blueprint, and an effort expressed in number of hours will have to be provided.
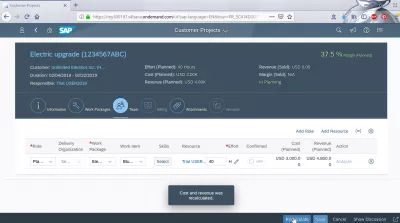
Click OK and validate the resource.
Now that the roles have been defined, along with the corresponding effort, it is possible to assign resources to them.
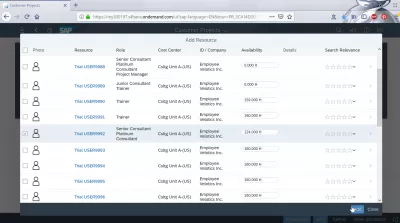
Select the add resource option for the work item solution design.
In the window that will open, find the right user and validate. Confirm the user assignement with the add to role button.
Billing planning
The next step will be the billing, by selecting the information for the contract.
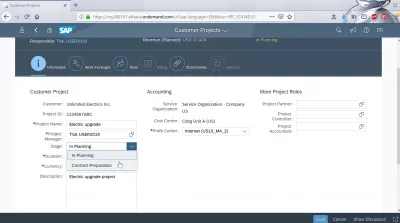
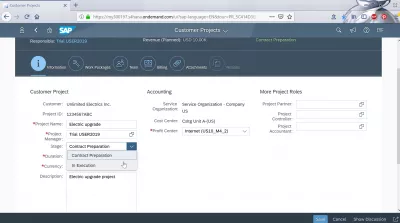
Select the current project stage which is contract preparation at this early step, and save.
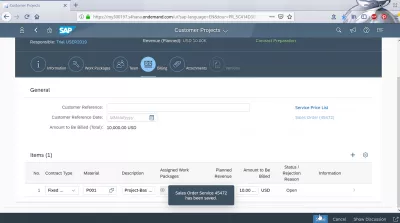
In the billing, enter a contract type, an amount to be billed, and select the first item.
After that, a billing due date and amount will be required to proceed.
Select the back icon to go back to the billing main screen, and save the billing.
Release finalized customer project
Select information, and change the project stage to in execution, as the work items, the resources, and the billing all have been correctly assigned.
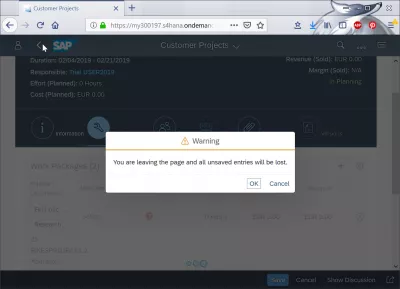
Save the project, and close the dialog box that opens.
It is now time to release the finalized project, by going to team menu, and selecting the confirmed for your user box.
And that is all, now the customer project has been planned, and is fully integrated with other modules, such as HR, Sales, Purchasing or Financials.
The next step would be the time confirmation, purchasing and billing.
We can now proceed with the SAP FIORI apps manage my timesheet and event based value recognition , or it is also possible to review customer projects , after what it will be also possible to analyze a customer project .
