How to set mobile network settings APN on Android?
How to set mobile network settings APN
When the mobile network data is not working on an Android phone, the reason is most likely that an APN, an Internet access point name, hasn’t been setup.
This will allow the phone to access Internet, to browse the World Wide Web, and to send and receive MMS picture messages.
Access APN on Android
Start by going to settings > cellular networks > access point names.
This is the menu in which the APN can be setup, and it is necessary to have one in order to access the internet.

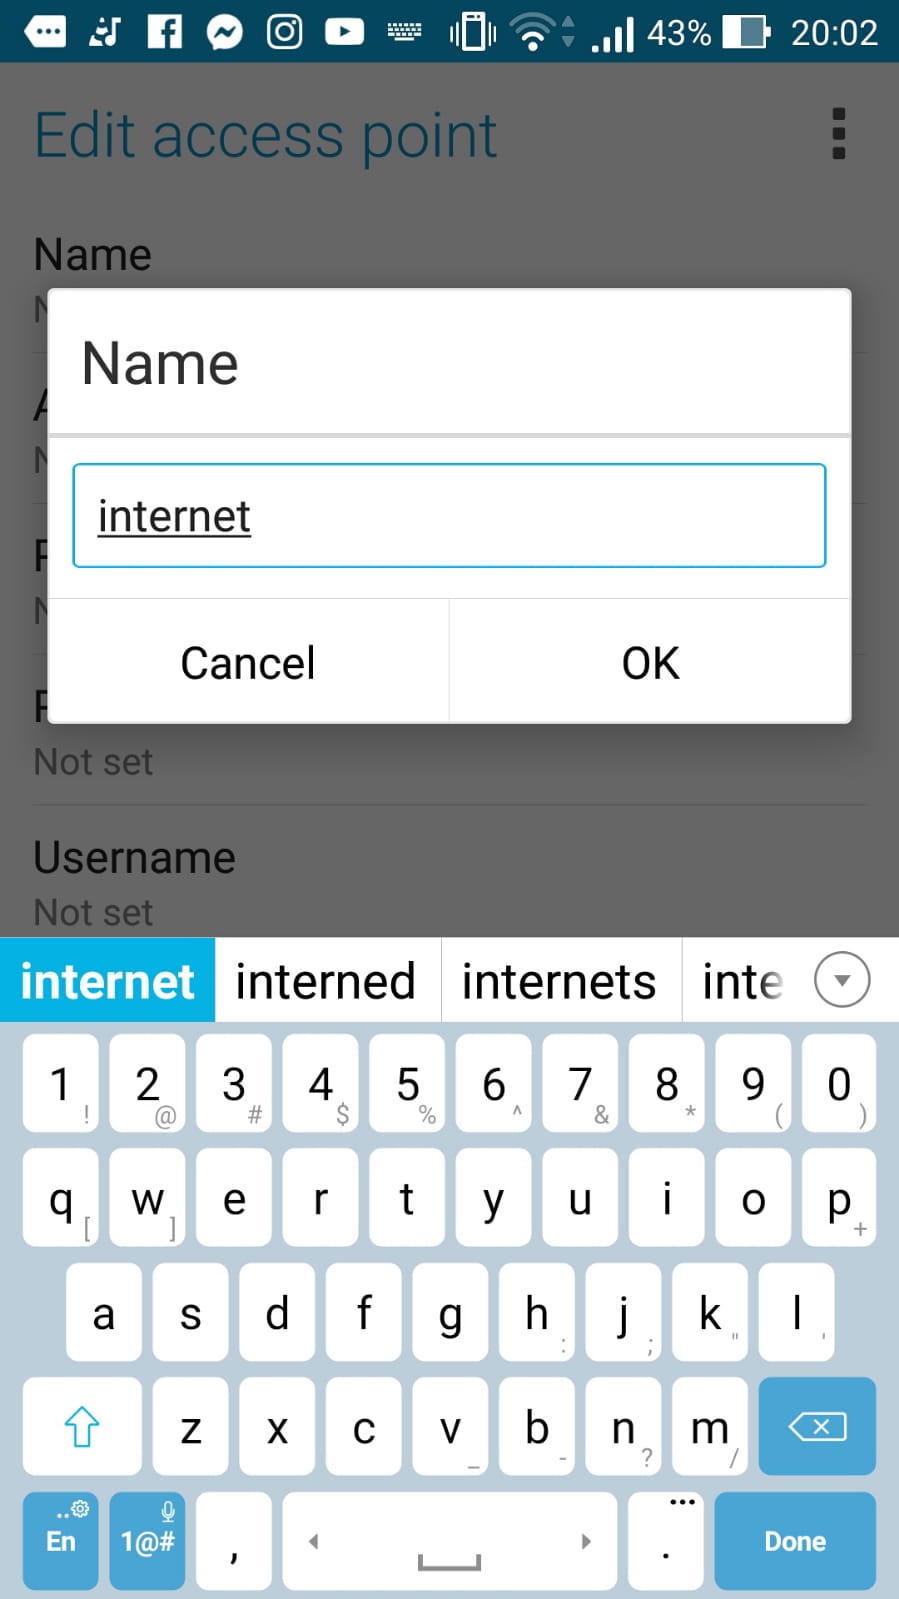
In most cases, a default one will be enough, such as the one below: name is simply Internet, and APN is Internet as well.
This standard APN will allow most of the phones to access Internet and send or receive MMS photo messages.

Add an access point name
In the APN menu, tap on the icon plus on top of the screen, to enter the edit access point menu, in order to create a new access point.

Then, enter the necessary information. If the standard access point name like in the picture below (name and APN both set to internet) does not allow the phone to connect mobile data network, check with your network provider what are the options necessary for your phone in the country where you currently are.
It might be the case the phone operator requires a specific access point name in the place where you are currently visiting.

Select the options necessary for your network operator one after the other, and enter the values needed inside the boxes.
For a standard APN, simply use the word “internet” in the APN name and access point name.

After that, go back to the APN selection screen, and select the access point name that has just been setup.
In case the APN is not selected, tap on the radio button next to the APN that you wish to use, and wait a little bit for the phone to connect to Internet.
If after 5 minutes nothing happens, try rebooting your phone, and enjoy a working Internet mobile data using the access point name you have just configured!


