Android can’t connect to Wifi, what to do?
Android can’t connect to WiFi
When the WiFi is not working on an Android phone, and it is unable to connect to an existing WiFi network, or the connection is dropping all the time, there are several ways to troubleshoot the issue and solve it to finally enjoy a working WiFi connection.
Check Internet connection
The first, is to connect to the WiFi with another device, such as a laptop, to make sure that the Internet connection is properly working, as the issue can come from the Internet connection, and not from the phone.
A good way to start troubleshooting the issue is also, when possible, to restart the Internet router, for example by disconnecting the power plug and connecting it again, after having being waiting 10 seconds to make sure that no residual power is present in the modem device.
Fix Android cannot connect to WiFi
If the Internet connection is not at fault, start solving the issue directly on the smartphone.
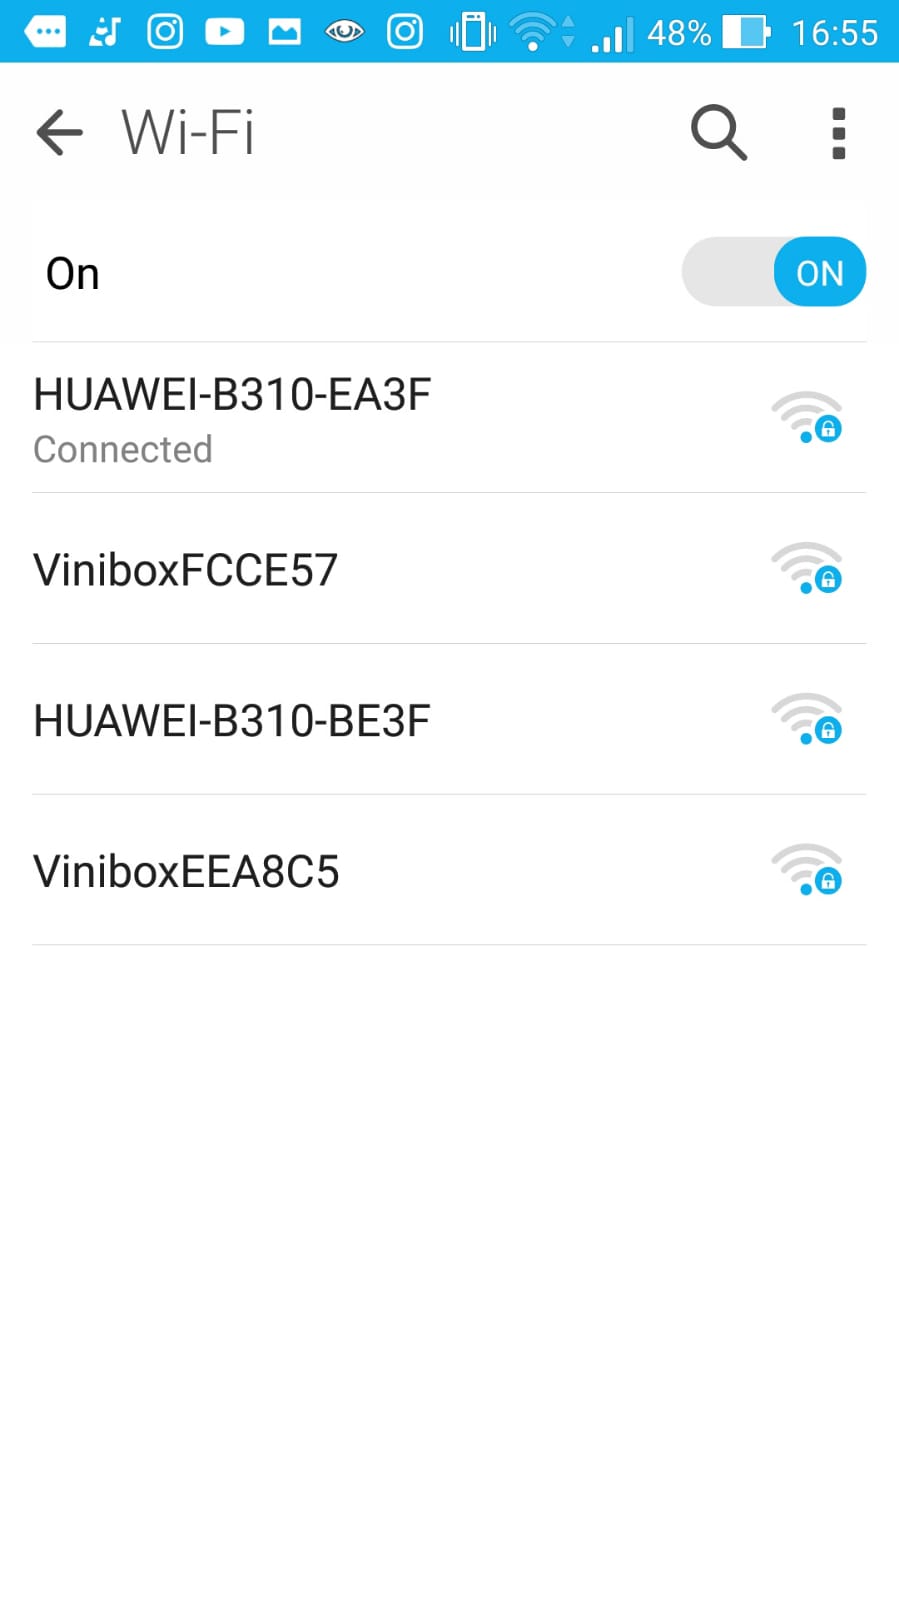
Open the WiFi Internet options by going to Settings > Wi-Fi.

Forget network connection
If the WiFi has already been setup previously, it might be a good idea to remove it from the list of Internet connections. Long tap on the desired WiFi network, and select forget network.

Restart smartphone
Then, restart your phone, to make sure that no other background running application is the cause of the WiFi connection problem.

Connect to WiFI network again
Once the smartphone menu is back, go again to the Settings > WiFi, and select your network to connect to it.
Enter the information if necessary, such as the WiFI password when prompted.

If the previous solutions did not work, make sure that your smartphhone is up to date.

