How to export contacts from SalesForce Lightning?
How to export contacts from SalesForce
Exporting contacts from SalesForce is a pretty easy operation, by creating a report containing the contacts to export, and export that report to Excel or another available export format from SalesForce.
See below a full example of the exportation of a full contacts list.
Create report with contacts
Start by creating a report that will contain the contacts to export in a spreadsheet, by opening the reports tab on the navigation panel.

Then, in the reports dashboard, create a new report by clicking on the new report button.
In case a report containing contacts already exists, you can skip the next step, open that report, and go directly to the report exportation part of that guide.

Contacts report creation
Start by selecting the accounts and contacts menu, on the left hand side, in case it is not selected by default.

Then, from there, select the accounts and contacts report type, in order to generate a report that will contain all the contacts to export.

Once the contacts and accounts report type has been selected, clic on continue to proceed with the report creation.

Filtering accounts report display
Once the report has been created, it will most likely contain literally all contacts and accounts. You might want to start by filtering a little bit the report, in order to export only what is of interest to you.
Click on filters on the top left corner to see more filters for the report.

In the filters detail, make sure that the right information will be exported.
For example, it might not be useful to export very old contacts for which no operation had happened in a long time.
Do not hesitate to play with the filter criteria until the table shown contains the right contacts data to export.

Once the right contacts filter criteria has been select, click on apply to have the table with data updated at the same time for preview.

Saving report to export
Once you are happy with the contacts data available for export, click on save and run.

Before being able to export the report, and run it first, the report must be saved.
Give it a readable name, such as new contacts and accounts export report, and a unique name that cannot be used by another user on the same system.
Eventually, give it a description, like report for accounts export.
Once done, click on save to generate the full report.

Export contacts to Excel from report
After the report has been generated, it is possible to export it by select the arrow next to the edit menu on the top right corner, and go to the export option.

The next screen is the standard SalesForce Lightning data export form, which allows to select either between a formatted report, containing extra information such as report headers, grouping, and filter details, and the details only report, which will only contain the header and the data, more suitable for spreadsheet calculations.
It is also possible to select the format of the export, which will most likely be Excel spreadsheet in most cases.

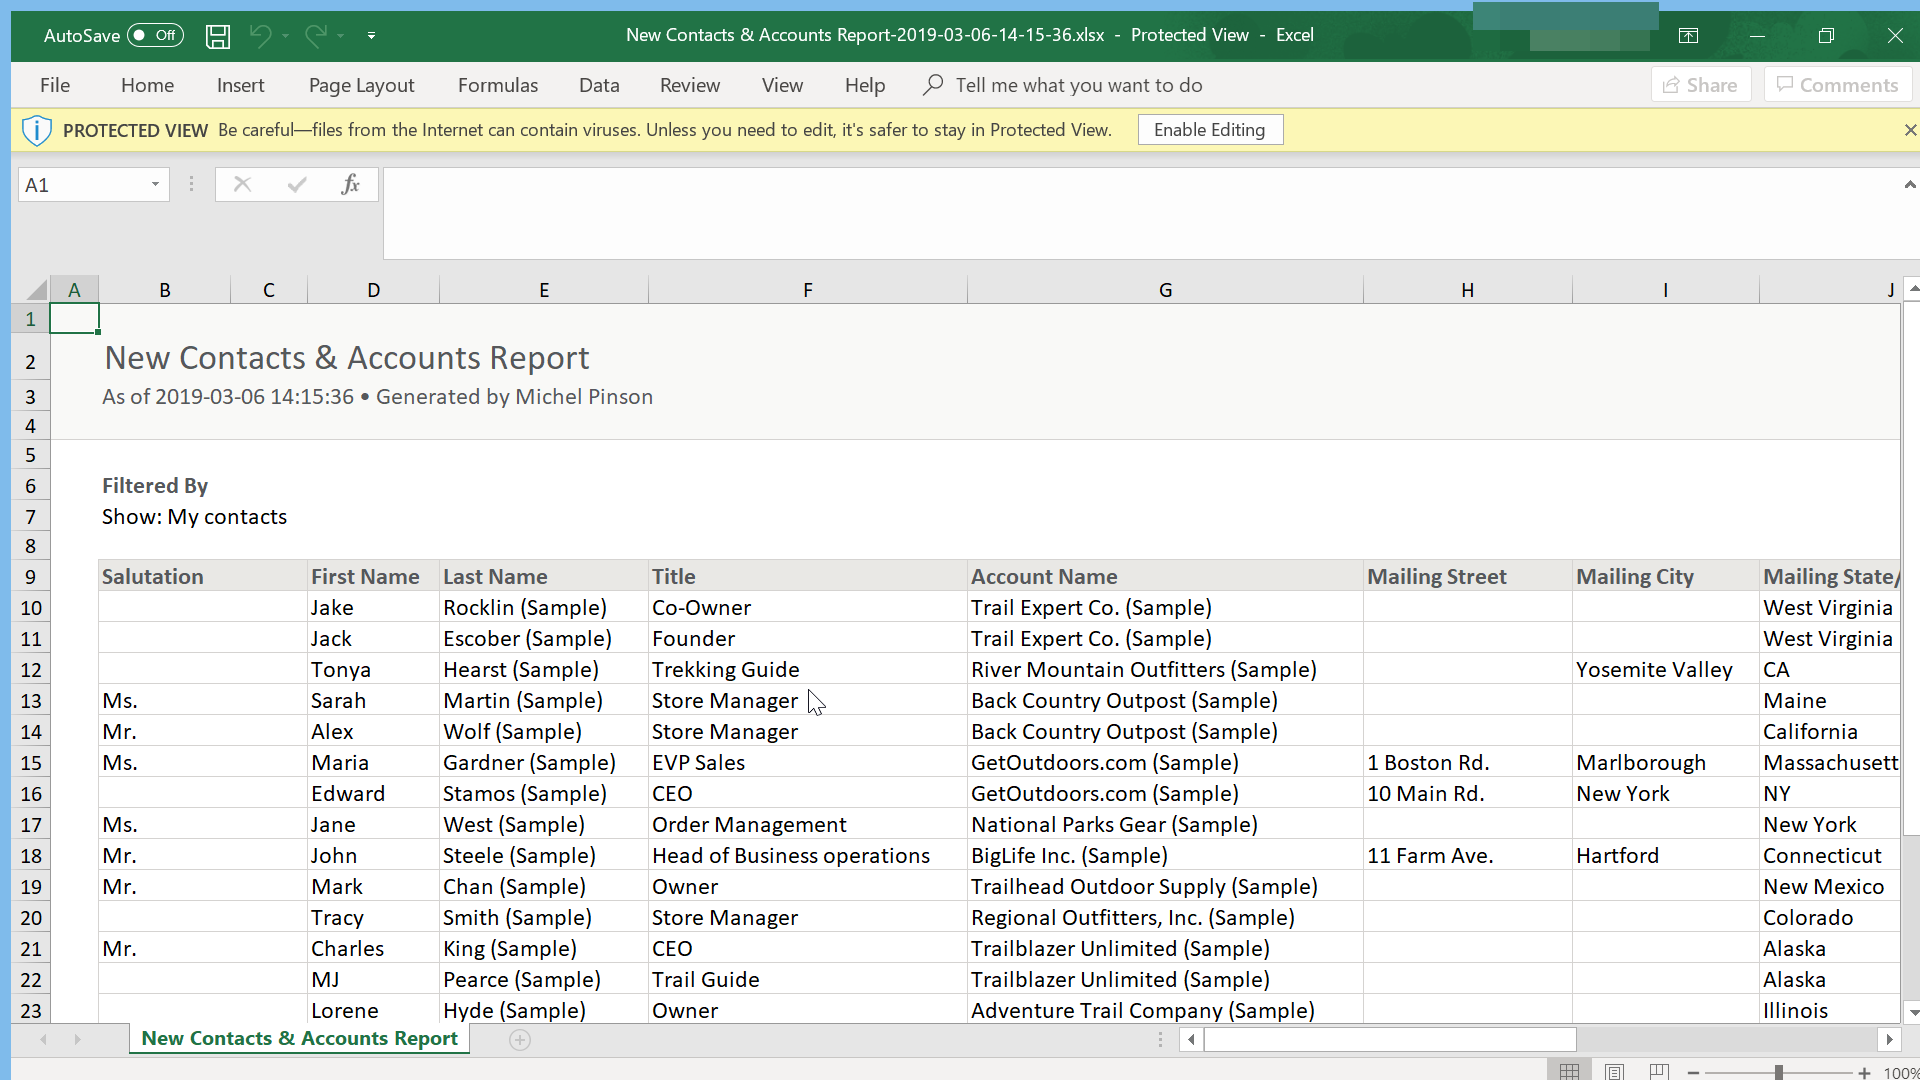
And voilà, the contacts have been exported from SalesForce Lightning to an Excel spreadsheet, and can now easily be shared with other people, or imported to other applications and interfaces.


