
SAP GUI installation steps 750
How to install SAP GUI 750
To install the SAP Logon 750, follow below SAP installation steps:
– Download and unzip the installer,
- Start the installer SetupAll,
-
Follow the installer wizard instructions,
-
Reboot computer,
-
Repeat operation with patch file,
-
Start SAP logon.
See below in detail these steps explained with screenshots.
If you are looking for a SAP front end installer to download, or a SAP IDES access, check the excellent Michael Management Corporation.
SAP front end installer and IDES SAP access for practice
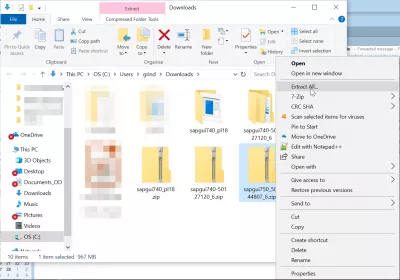
The first step is to download the corresponding files, which must be an installer and a patch. The files are taking more than 1 gigabyte of disk space when compressed, therefore make sure that you have enough space and a good enough connection before download and install.
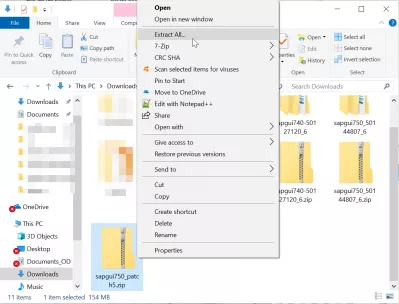
Once downloaded, start unzipping the file by right clicking on the archive in the file explorer.
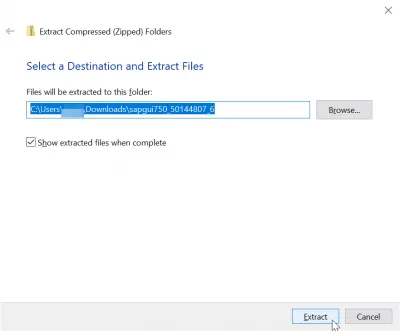
Select the folder in which the files should be extracted. Make sure that at least 2 gigabytes of disk space is available for the whole files to be extracted.
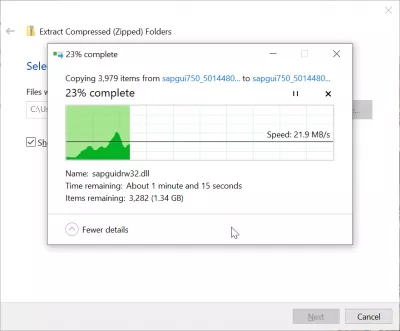
The compressed archive unzipping will take some time, as there are nearly 2 gigabytes of data to create.
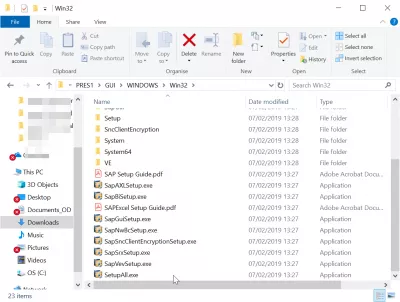
Start the installer SetupAll
Once the archive has fully been extracted, navigate to the folder SAP install folder > PRES1 > GUI > WINDOWS > WIN32 > SetupAll.exe and run the executable file to start the SAP GUI 750 installation.
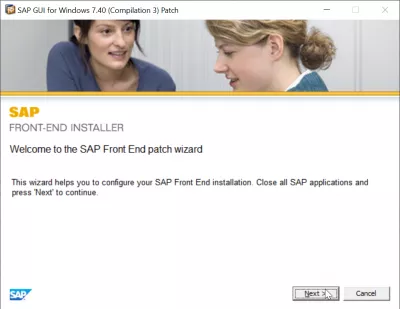
Follow the installer wizard instructions
The SAP GUI installer wizard will guide you through the installation.

Start by clicking next.
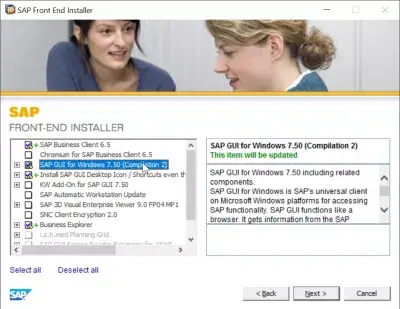
The second screen will let you select which components have to be installed. Make sure to select the SAP GUI for Windows 7.40 and the Install SAP GUI desktop icon / shortcuts.
Make sure the disk space mentioned in the installer is available on the disk.
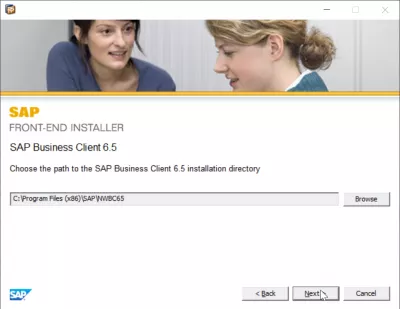
After that, select an installation folder, which is by default the program files folder. It is necessary to have at least a gigabyte of free space, and maybe more depending on the options selected in the wizard.
Another screen will ask for netweaver installation directory, it can be left as default.
And the same will be requested for the Business Explorer installation.
The SAP GUI components will be installed on your computer, operation that might take some time, depending on the computer capabilities.
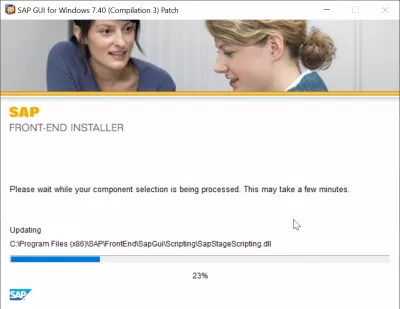
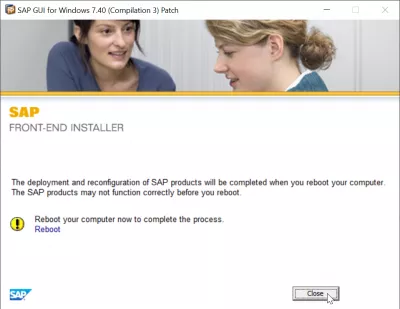
Once the installation is complete, however, do not start right away with SAP, and remember first to install the latest patch for the GUI version.
A reboot will be requested right away by the SAP installer. Do not hesitate to do it right now, otherwise it will be requested again before starting the next operation, the patch installation.
Repeat operation with patch file
The same operations have to be followed in order to install the SAP patch corresponding to the GUI version. However, the file size is much smaller, with 152MB for the archive. Start by unzipping the compressed file on the computer.
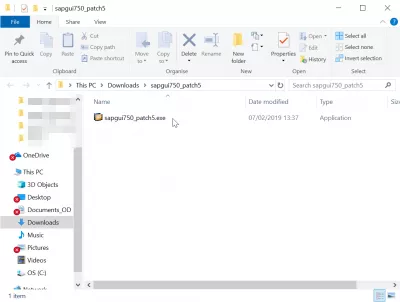
The patch folder will only include one executable file, that can be executed directly.
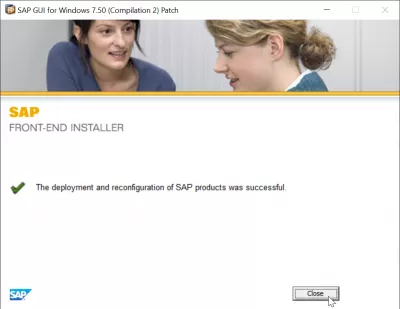
Once the installation of the patch file has been completed, you can safely leave the installer.
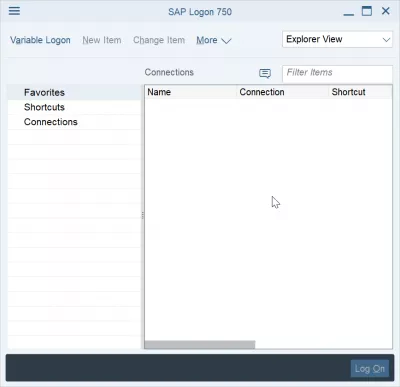
Start SAP logon
Back on the desktop after the SAP GUI 750 installation, the SAP Logon icon should be available on Windows quick start menu.
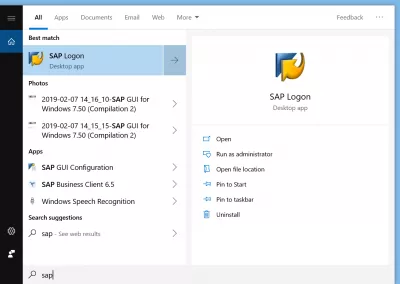
You can open it and start a new SAP session.
If you need a SAP system for your trial or training, and access excellent trainings, see below for an access to a Michael Management Corporation environment. SAP access can be acquired for as low as 99$/month, and they work great.
You will not be able to find a free SAP server access for practice, as it doesn’t exist – but you can rent one at below link for as long as you need.
SAP front end installer and IDES SAP access for practice