Add server in SAP GUI 740 in 3 easy steps
SAP servers in SAP GUI 740
To access a SAP application server , and use the SAP GUI or FIORI interface , the first step is to proceed to SAP 740 download , then continue with the corresponding SAP 740 installation , and then configure one or more SAP application server , either manually as explained below, or by using an existing SAP logon server list – and finally personalizing the interface: change SAP language or change SAP theme for example.
The procedure is pretty similar to add server in SAP 750 .
Each of the SAP server s configures will represent a different instance of SAP to which you will connected, generally each of them representing a different environement, such as developement, business validation, and production, and different for each of the company’s business unit.
Every single SAP application server has its own database, set of data, and customized programs. They can be replicated and exist on each of the SAP server s, or be different on every one of them.
See below how to add manually a new connection in the SAP logon server list displayed in the SAP GUI interface.
SAP front end installer 740 and IDES SAP access for practice
1- Add a new connection in SAP GUI
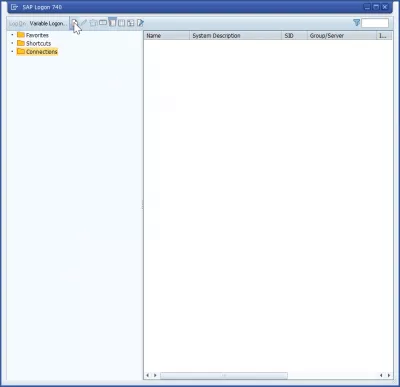
The first step will be to add a new connection in the SAP GUI , by clicking on the new item button, the white page icon.
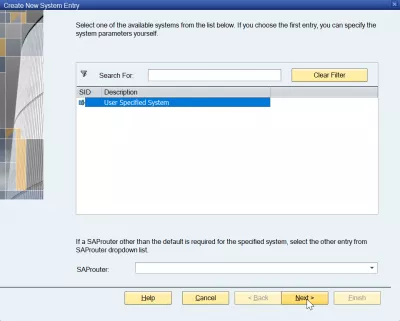
After that, select user specified system, as the SAP application server details will be entered manually.
2- Enter the custom SAP application server details
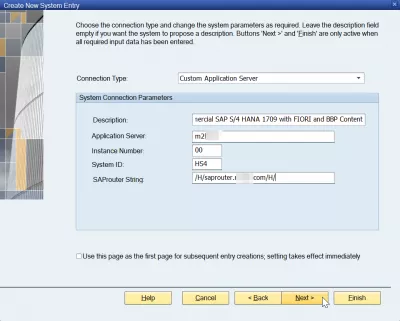
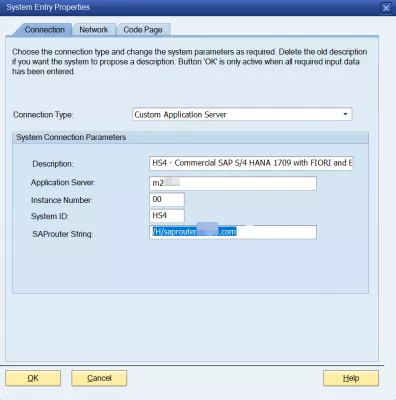
The system connection parameters will then need to be typed in the corresponding fields, and are all necessary:
- description, a text that will help you recognize this specific server in the list,
- application server, the server name that must be provided by the system administrator,
- instance number, a two digits number, because one SAP system can have different instances,
- system ID, a unique identification code of the SAP installation,
- SAPRouter string, which represents the connection between hosts.
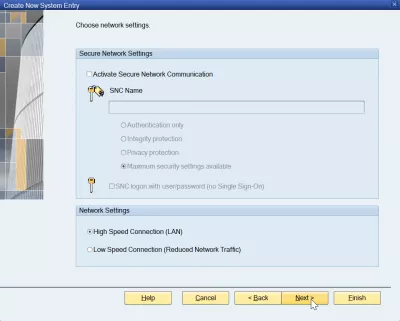
The next screen usually doesn’t need any change, as it will request for the secure network settings, such as the SAP Secure Network Communications parameters, if any, and eventual network settings to reduce network traffic on slow Internet connections.
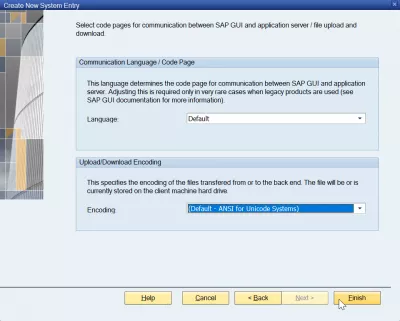
Finally, the last screen of the SAP application server creation procedure requests the language, in case you want to change SAP language , and also the character encoding, which might be important depending on your local configuration.
3- Connect to the SAP application server
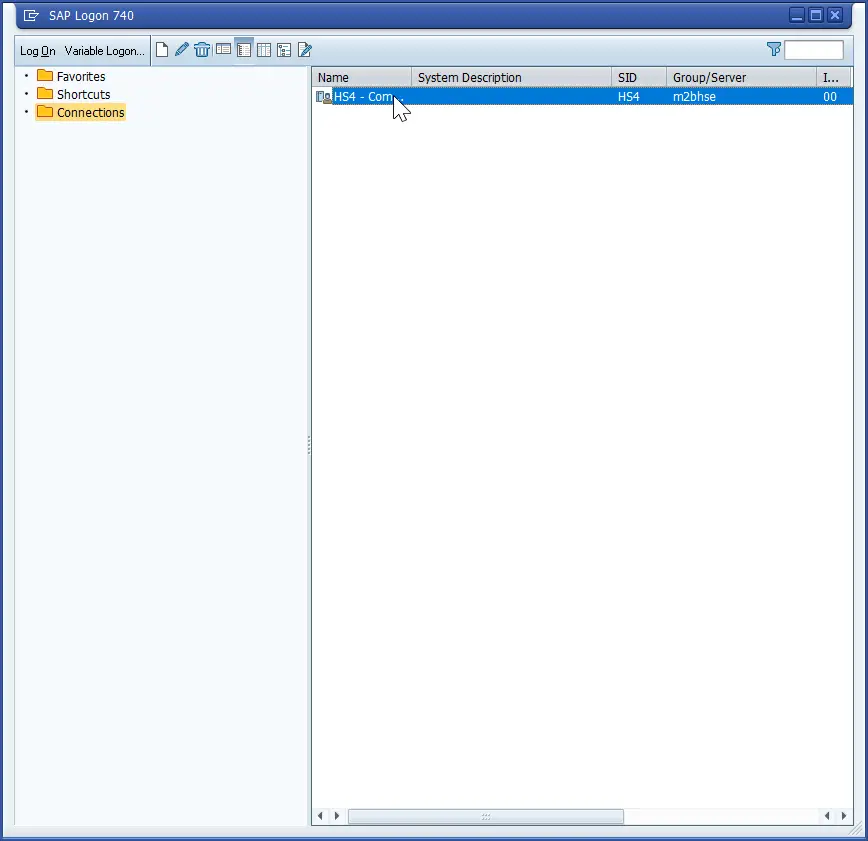
After having performed these steps, the SAP application server will be added to the SAP logon server list, and be visible on the SAP 740 GUI interface server list.
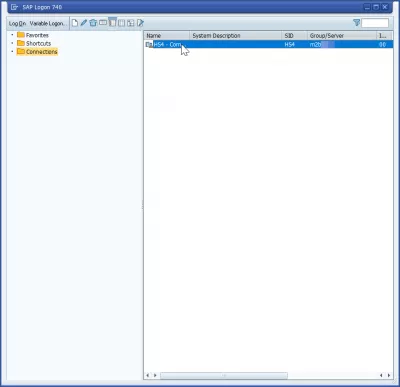
In case you made a mistake while creating the server list entry, right click on it, and select the properties option.
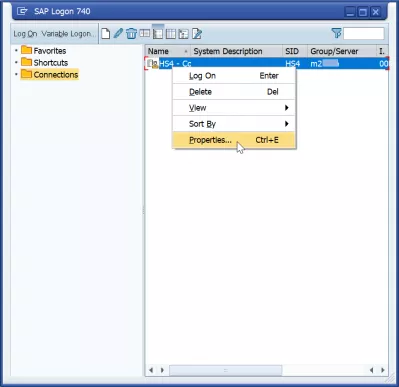
In the properties, you will have access to screens similar as the ones during the installation, and will be able to modify any property of the SAP server .
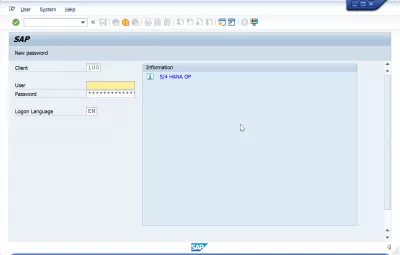
When the SAP application server will be correct, simply double click on the entry in the SAP logon server list to open the SAP 740 GUI interface , and logon to your application server.
SAP front end installer and IDES SAP access for practice
